
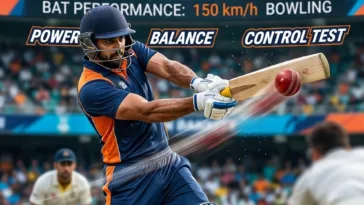
Cricket bat production steps Cricket bats look simple, but the manufacturing process is very detailed. Every part of the bat affects performance, and bat edges are one of the most important features. Strong and well-shaped edges help players hit powerful shots and maintain good balance.
Today, modern bat makers follow several cricket bat production steps to shape edges correctly. These steps combine machine work and expert craftsmanship. As a result, players get bats that perform well in every format of the game.
In this guide, we will explain how cricket bat edges are shaped during the production process in simple and easy English.
–> Explore premium quality and expertly crafted bats at Vinox Sports to find the perfect match for your playing style and performance needs.
Why Bat Edges Matter in Modern Cricket
First of all, bat edges connect the front face and the back of the bat. Because of this position, they play a major role in power and balance.
Well-designed edges provide several benefits.
They increase the sweet spot
They improve shot power
They make the bat more durable
They reduce damage from mishits
Therefore, manufacturers carefully design edges whether they produce a cricket bat for beginners or a cricket bat for professional players.
Step 1: Selecting the Right Willow
First, manufacturers select high-quality willow wood. This wood usually comes in two types: English willow and Kashmir willow.
Workers cut the wood into pieces called clefts. After that, they check the clefts for grain quality, strength, and moisture.
Next, they dry the wood naturally. This step is very important because dry willow becomes stronger and easier to shape.
Many affordable cricket bat brands India follow strict selection methods to ensure good quality bats.
Step 2: Pressing the Willow
After drying, the cleft moves to the pressing stage.
During this step, manufacturers place the willow in a hydraulic press. The machine compresses the wood fibers slowly.
As a result:
The bat becomes stronger
The surface becomes smoother
The edges gain durability
Proper pressing is essential because it prepares the bat for the next cricket bat production steps.
Step 3: Marking the Bat Design
Next, the bat maker marks the shape of the bat on the cleft.
These markings include:
Blade shape
Handle position
Spine location
Edge thickness
At this stage, the manufacturer decides the bat design. For example, a power hitting cricket bat T20 usually has thicker edges to help players generate more power.
Step 4: Rough Cutting the Bat
After marking the outline, workers cut the cleft using a band saw. This machine removes the extra wood and creates the basic bat shape.
At this point, the bat starts to look like a real cricket bat.
However, the edges still look rough. Therefore, craftsmen continue shaping the bat in the next stage.
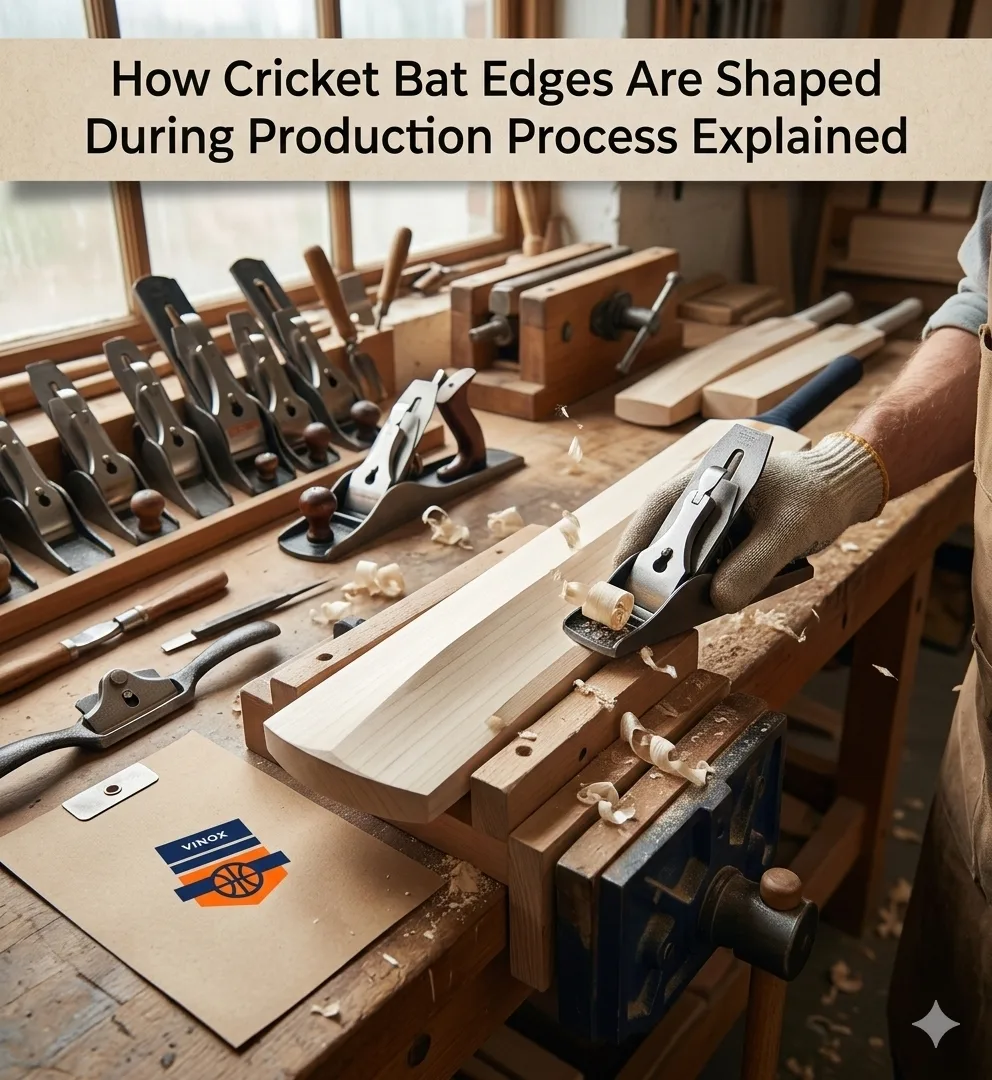
Step 5: Hand Shaping the Bat Edges
Now comes one of the most important steps.
Skilled craftsmen shape the edges using traditional woodworking tools such as:
Hand planes
Spokeshaves
Wood rasps
Sanding tools
First, they remove small layers of wood. Then they slowly curve the sides to create smooth and balanced edges.
Because of this careful process, the bat maintains both power and balance. Many players prefer this design when they look for a lightweight cricket bat for players.
Step 6: Balancing the Bat
After shaping the edges, craftsmen check the bat balance.
They lift the bat and examine its weight distribution. If the bat feels uneven, they make small adjustments.
Balance matters because different players use different bats. Some players need a cricket bat for leather ball, while others prefer a cricket bat for tennis ball for casual matches.
Proper balance improves performance and comfort.
Step 7: Fine Sanding and Finishing
Next, the bat goes through a sanding process.
During sanding, workers smooth the bat surface and remove tool marks. As a result, the edges become clean and polished.
After sanding:
The bat surface looks smooth
The edges feel comfortable
The final shape becomes clear
This step prepares the bat for final finishing.
Step 8: Quality Inspection
Finally, manufacturers inspect the bat carefully.
They check:
Edge thickness
Blade symmetry
Weight balance
Surface quality
Only bats that pass these tests move to the final stage.
Manufacturers also produce bats for different budgets. For example, some companies offer the best cricket bat under ₹5000, while others produce the best English willow cricket bat under ₹10000.
Because of this variety, players can easily find a bat that suits their needs.
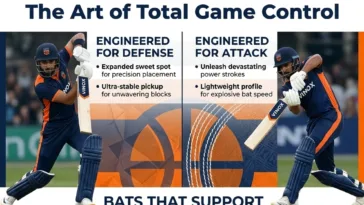
Evolution of Modern Bat Edges
In the past, cricket bats had thinner edges and smaller sweet spots. However, modern cricket demands more power.
Therefore, manufacturers now design bats with thicker edges and larger sweet spots. These improvements help players hit stronger shots without using very heavy bats.
Consequently, modern bat designs work well in fast formats like T20 cricket.
Conclusion
Cricket bat manufacturing requires skill, patience, and experience. Every step, from willow selection to final sanding, plays a key role in bat performance.
Most importantly, shaping the edges requires expert craftsmanship. Skilled bat makers carefully carve the sides to achieve the perfect balance between power and control.
Because of these precise cricket bat production steps, modern cricket bats deliver better durability, stronger shots, and improved playing comfort.

 No products in the cart.